

Okay Kids, so this time of year is great. "GREAT?" you may say. Zach please explain. The upside is that you get to start you collecting for next year's seeds. If you have a particular type of non-Hybrid plant that you just can't live without and want next year...why not save some seeds from it. This year, I am saving seeds from a couple different types of seeds. I'll be saving my Scarlet Runner Beans, Radishes, Peas, and Marigolds. These are really some easy seeds to harvest for beginners since there are no special techniques as compared to say tomatoes. Here is the Link on how to collect tomato seeds.


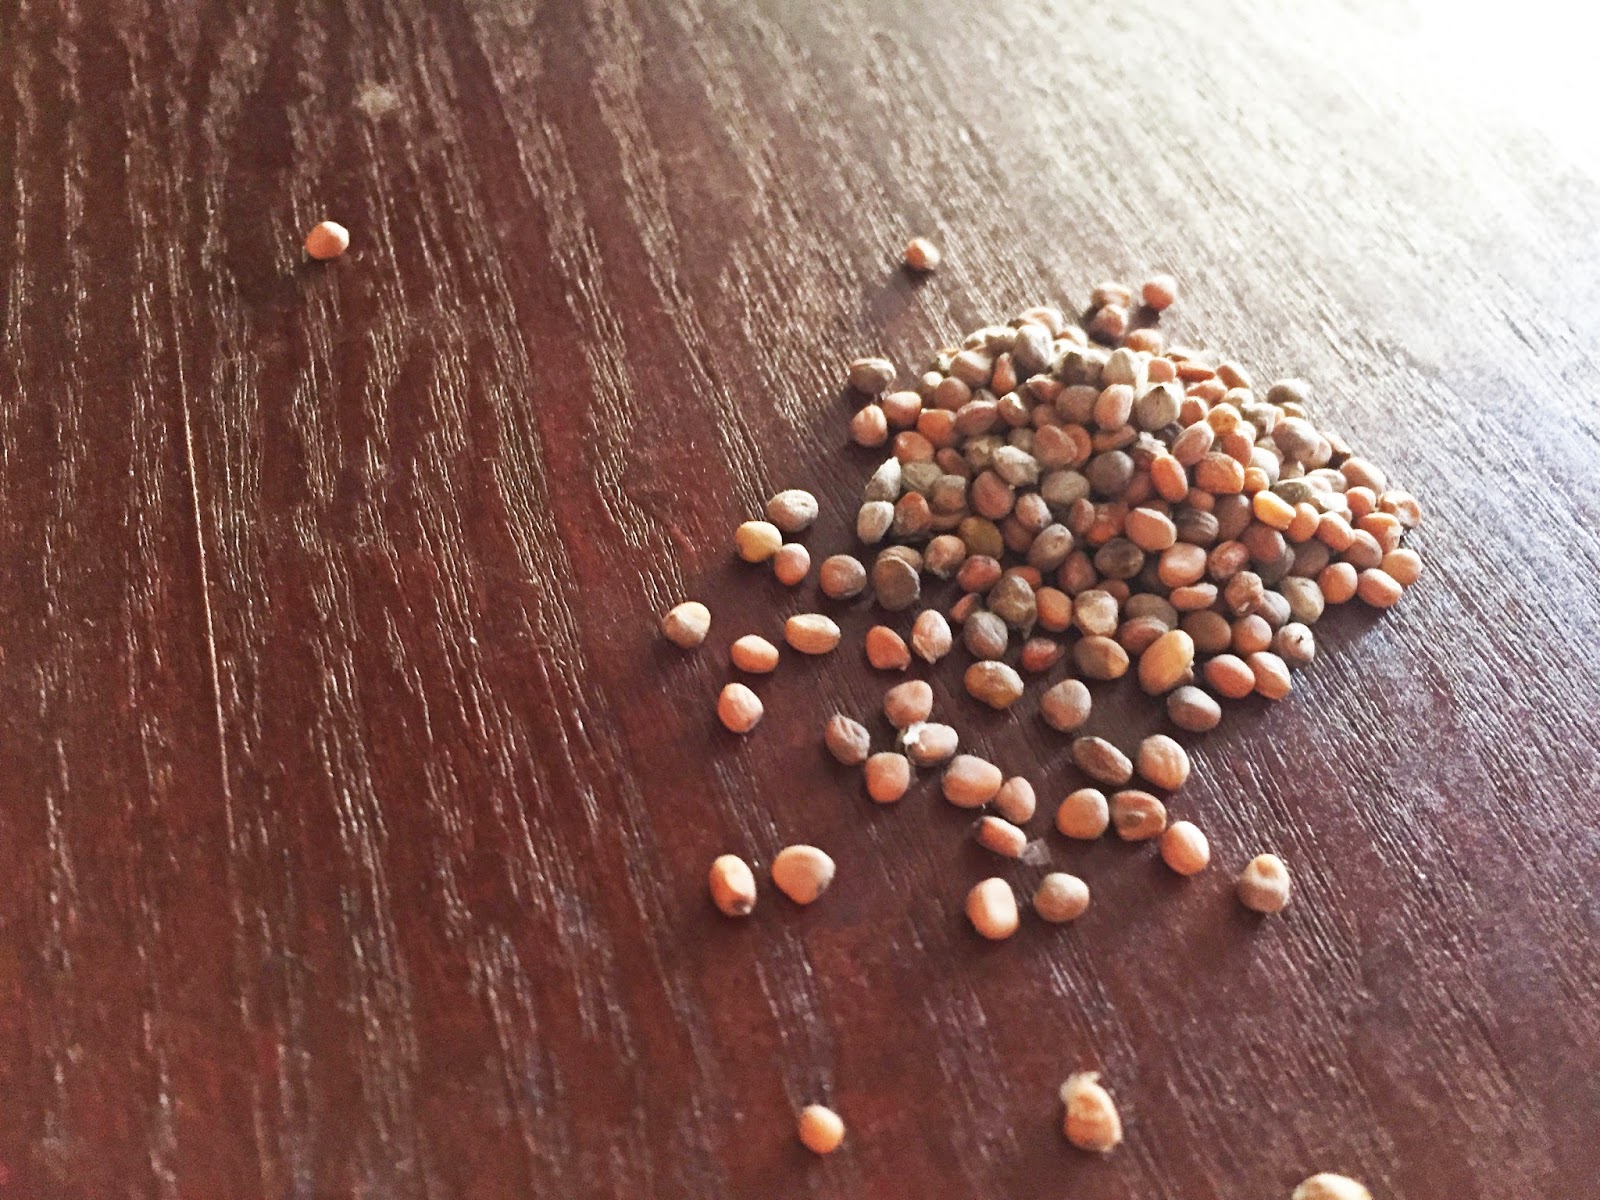
So once I have harvested the seed pods, i leave them inside for a couple of days, to insure that they are completely dry. After which I start to hull them. Be sure to store them in ziplock baggies, mark their names, and dates on the bag too.


.JPG)

.JPG)
.JPG)

.JPG)
